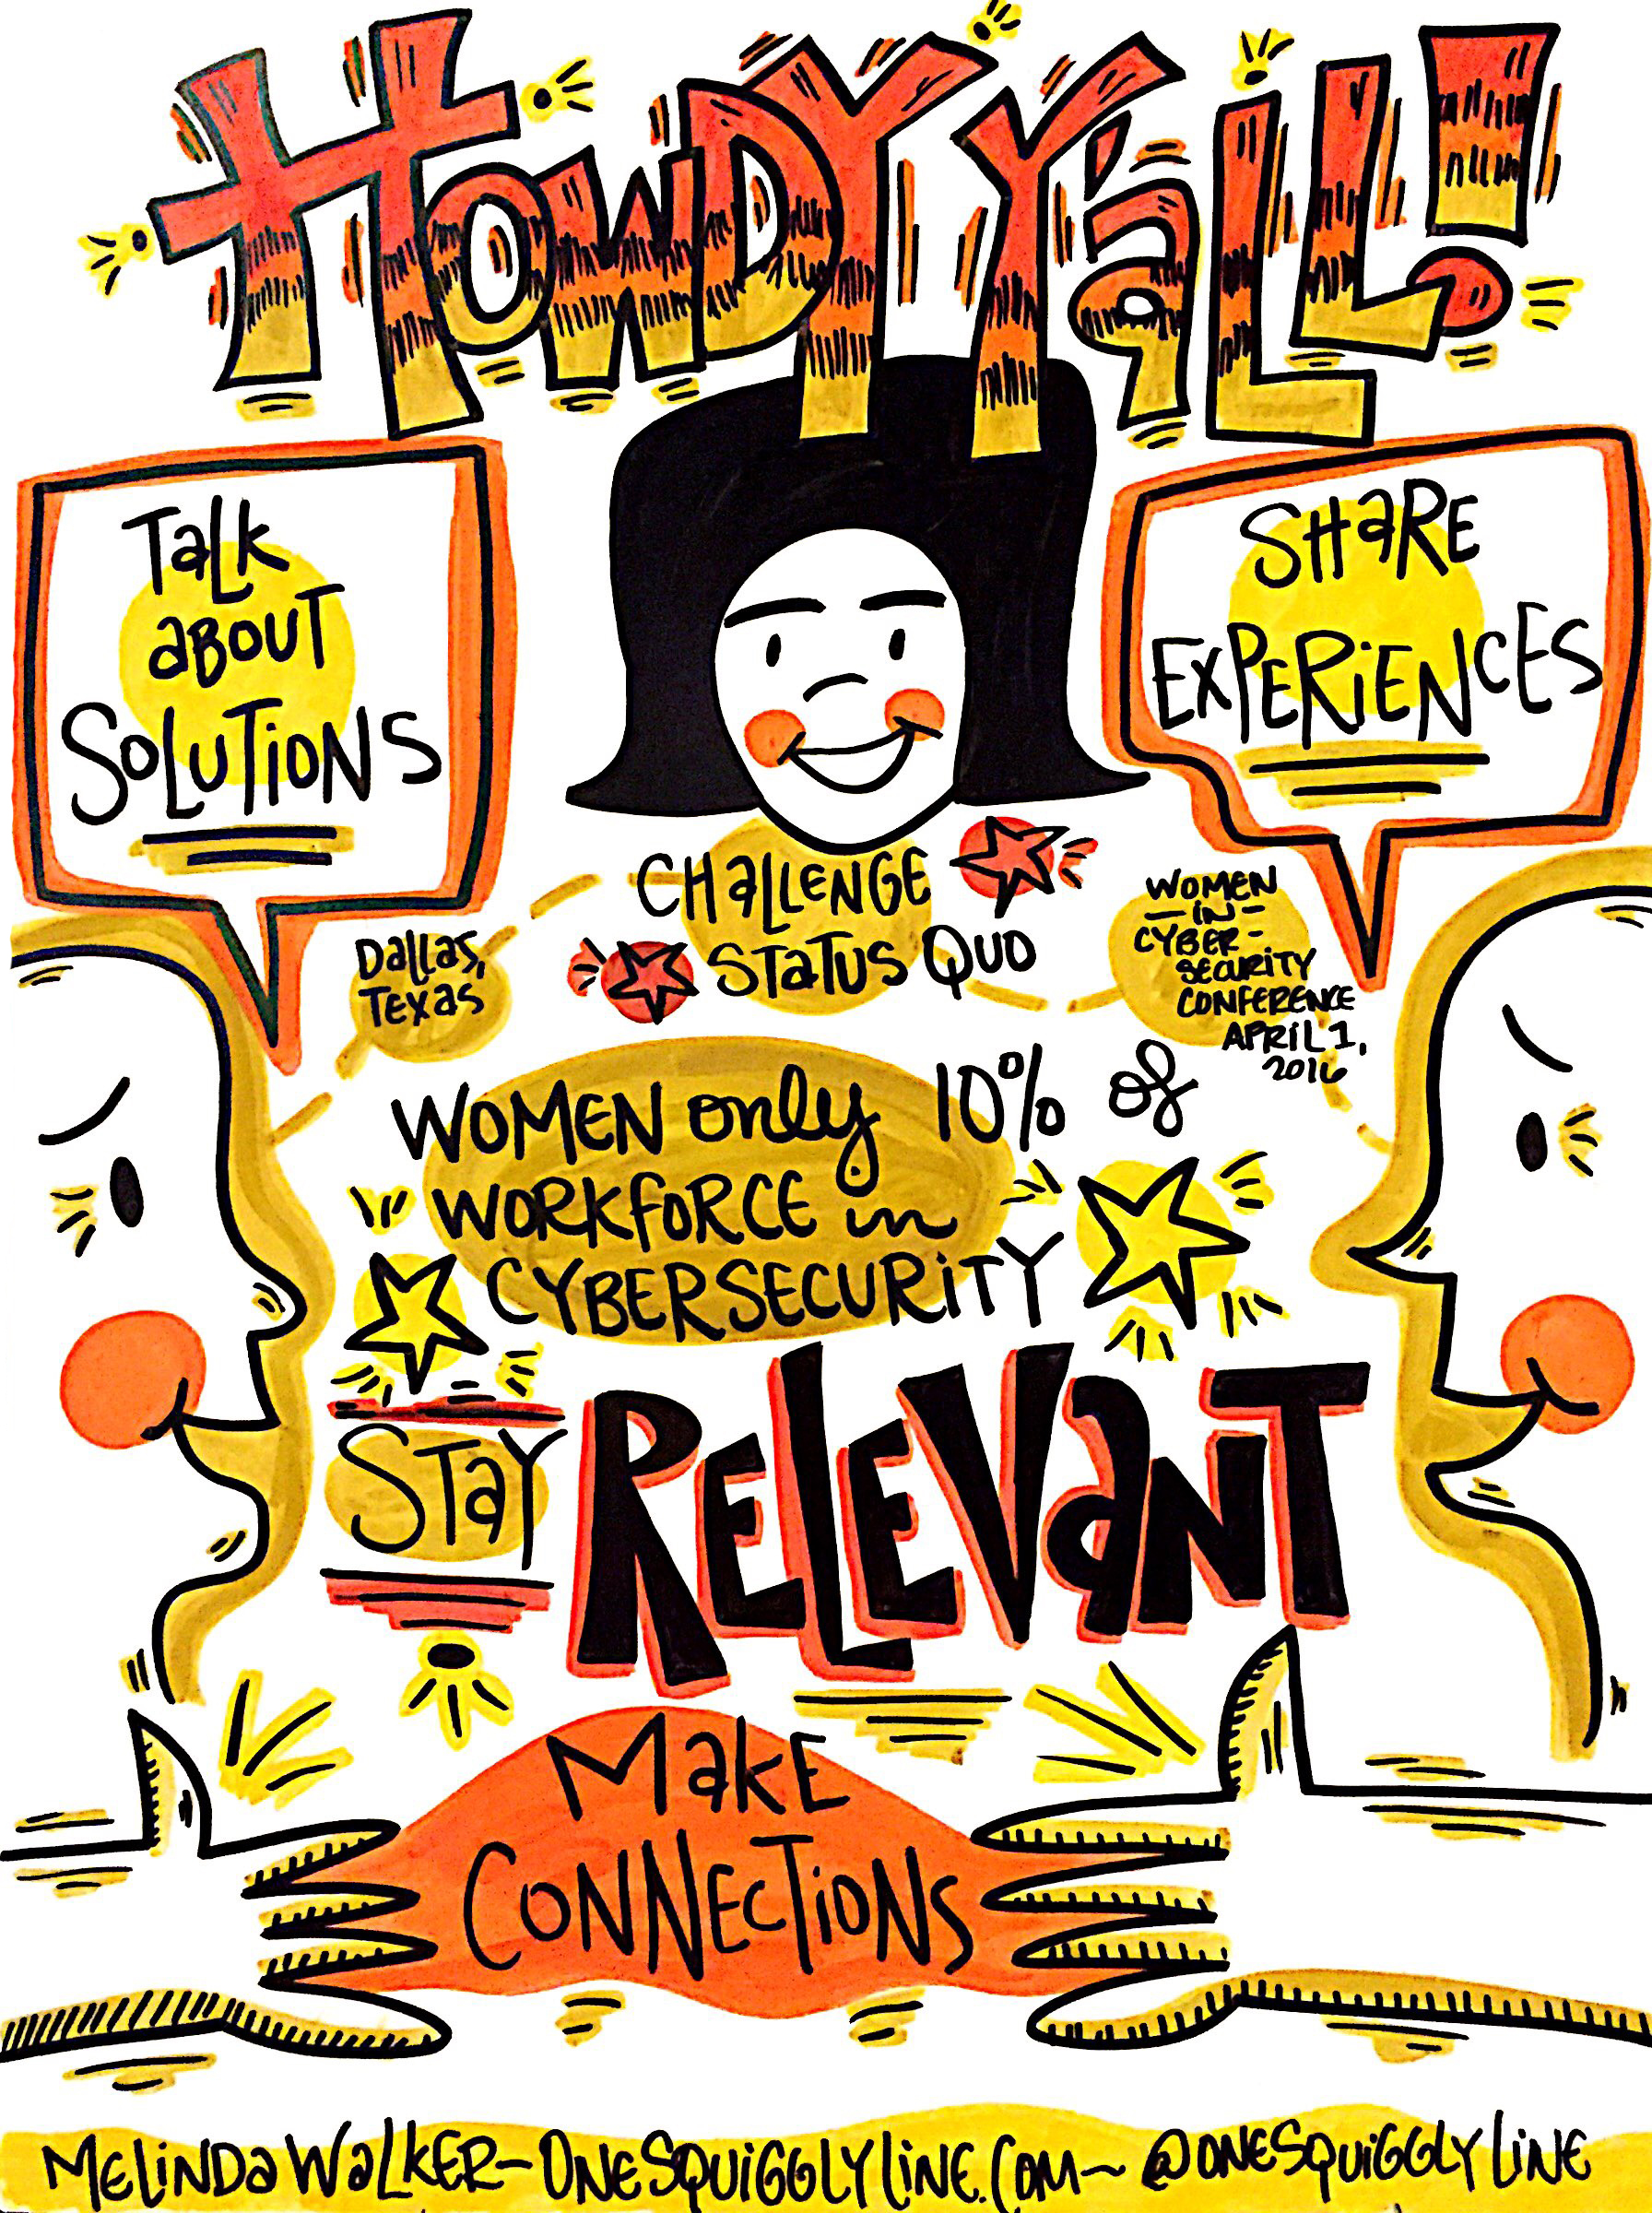
Hand-drawn visuals are far friendlier than standardized fonts and stock photos. And hand-drawn visuals are even more inviting when created live, right there where everyone can see.
The drawing above was created during the opening remarks at the Women in Cyber Security conference the end of March. It was then displayed near registration to welcome late-comers. Not a high resolution file shown here, just taken with my iPhone in the moment.
To see the whole set of visual notes from the Women in Cyber Security conference, check out this Flickr album.
Visual Thinking & Visual Notes: Live Graphic Recording
People often think I do a lot of drawing while taking live visual notes. If you really look at the image above, you'll see there's really not much drawing there at all. Just some squares, a couple of circles, and an arrow. That's it!
When you write words inside simple shapes, those simple shapes start making your own notes a bit more visual. They become more dynamic. More interesting. The image and the message become more unified. And far more powerful.
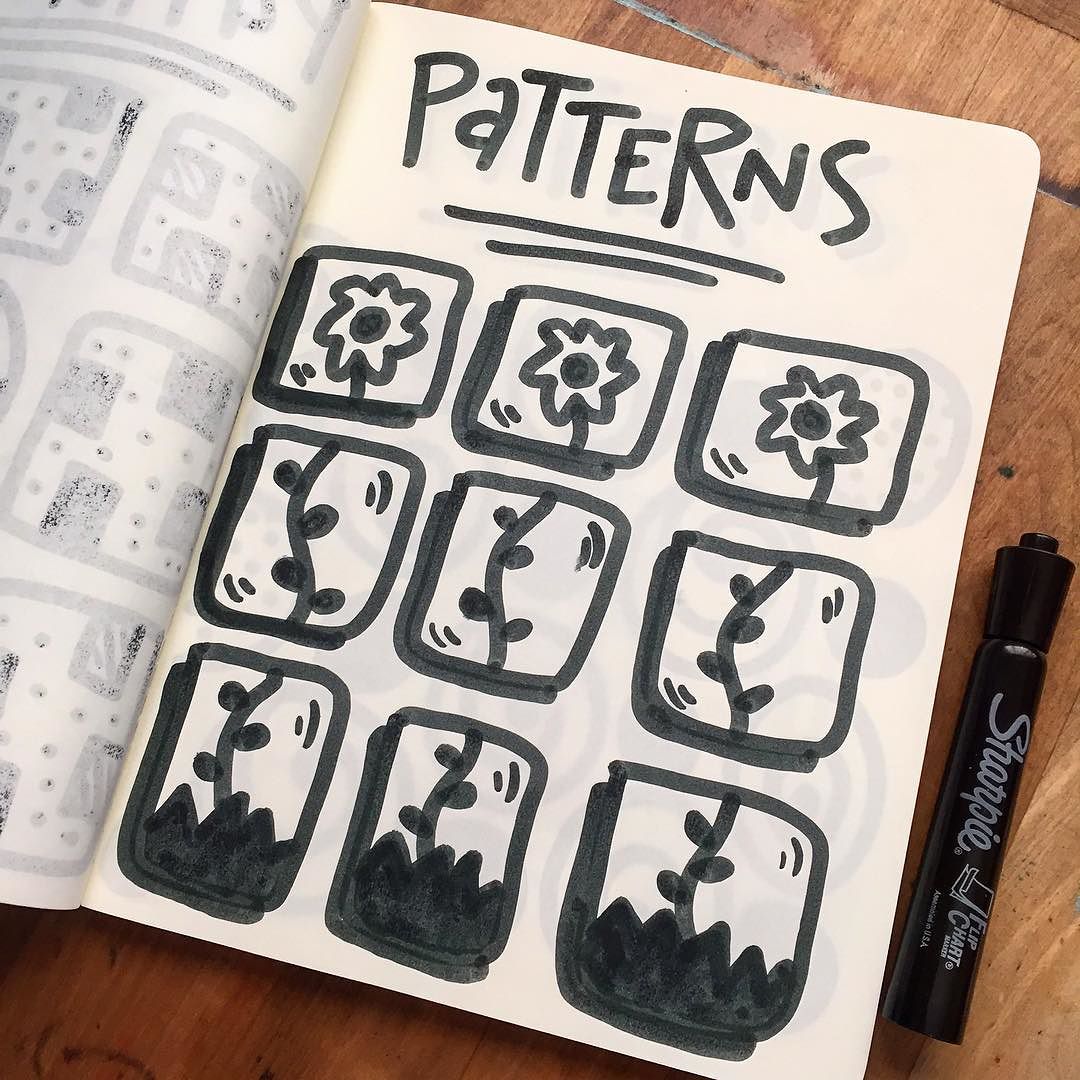
A great way to make your own notes more visual is to write some of your words inside simple shapes — circles, squares, triangles, arrows, etc. Give it a try!
The image above is a close-up of a 4'x8' drawing, created live, in real-time during a Design Thinking workshop. Be sure to check out the entire image!
Visual Thinking & Creativity: Timelines
Pictures are obviously a big part of visual thinking. So are words. But if you just throw a bunch of words and pictures on a page, you just end up with a mess. A visual mess that makes your thinking messy, too.
That's where organization comes in. It's the third essential component of successful visuals. It doesn't have to be fancy. In fact, it's often best to keep things really simple.
A timeline is a simple and effective way to visually organize information.The image above shows a simple timeline of the International Center for Studies in Creativity, where I got my master's degree. Of course there's a whole lot more to their story than shown in this timeline, but it includes the things that influenced or impacted me in some way. You get the idea, at a glance.
Check out One Squiggly Line's About Visual Thinking page to learn more.
Visual Thinking & Creativity: Think inside the box, too!
There's a myth out there that highly creative people just sit around and wait for inspiration to strike. Like a great big lightening bolt from the sky. Or a soft whisper from a mystical muse.
Truth is, creativity is not quite so passive. It is an active process. And there's a science to it, not just an art. There are even formulas, methods, and procedures for generating ideas and, equally importantly, evaluating them.
While there's often a push to "think outside the box" when generating ideas, thinking inside the box can be just as important. And productive. "The box" gives you a starting place, and sometimes getting started can be the hardest part.
So when looking for creative ideas, it's really ok to start with what you know, right where you are, with whatever you have right in front of you. Because once you start, you'll most likely keep going until that great idea hits you.
Visual Thinking & Live Visual Notes: Graphic Recording
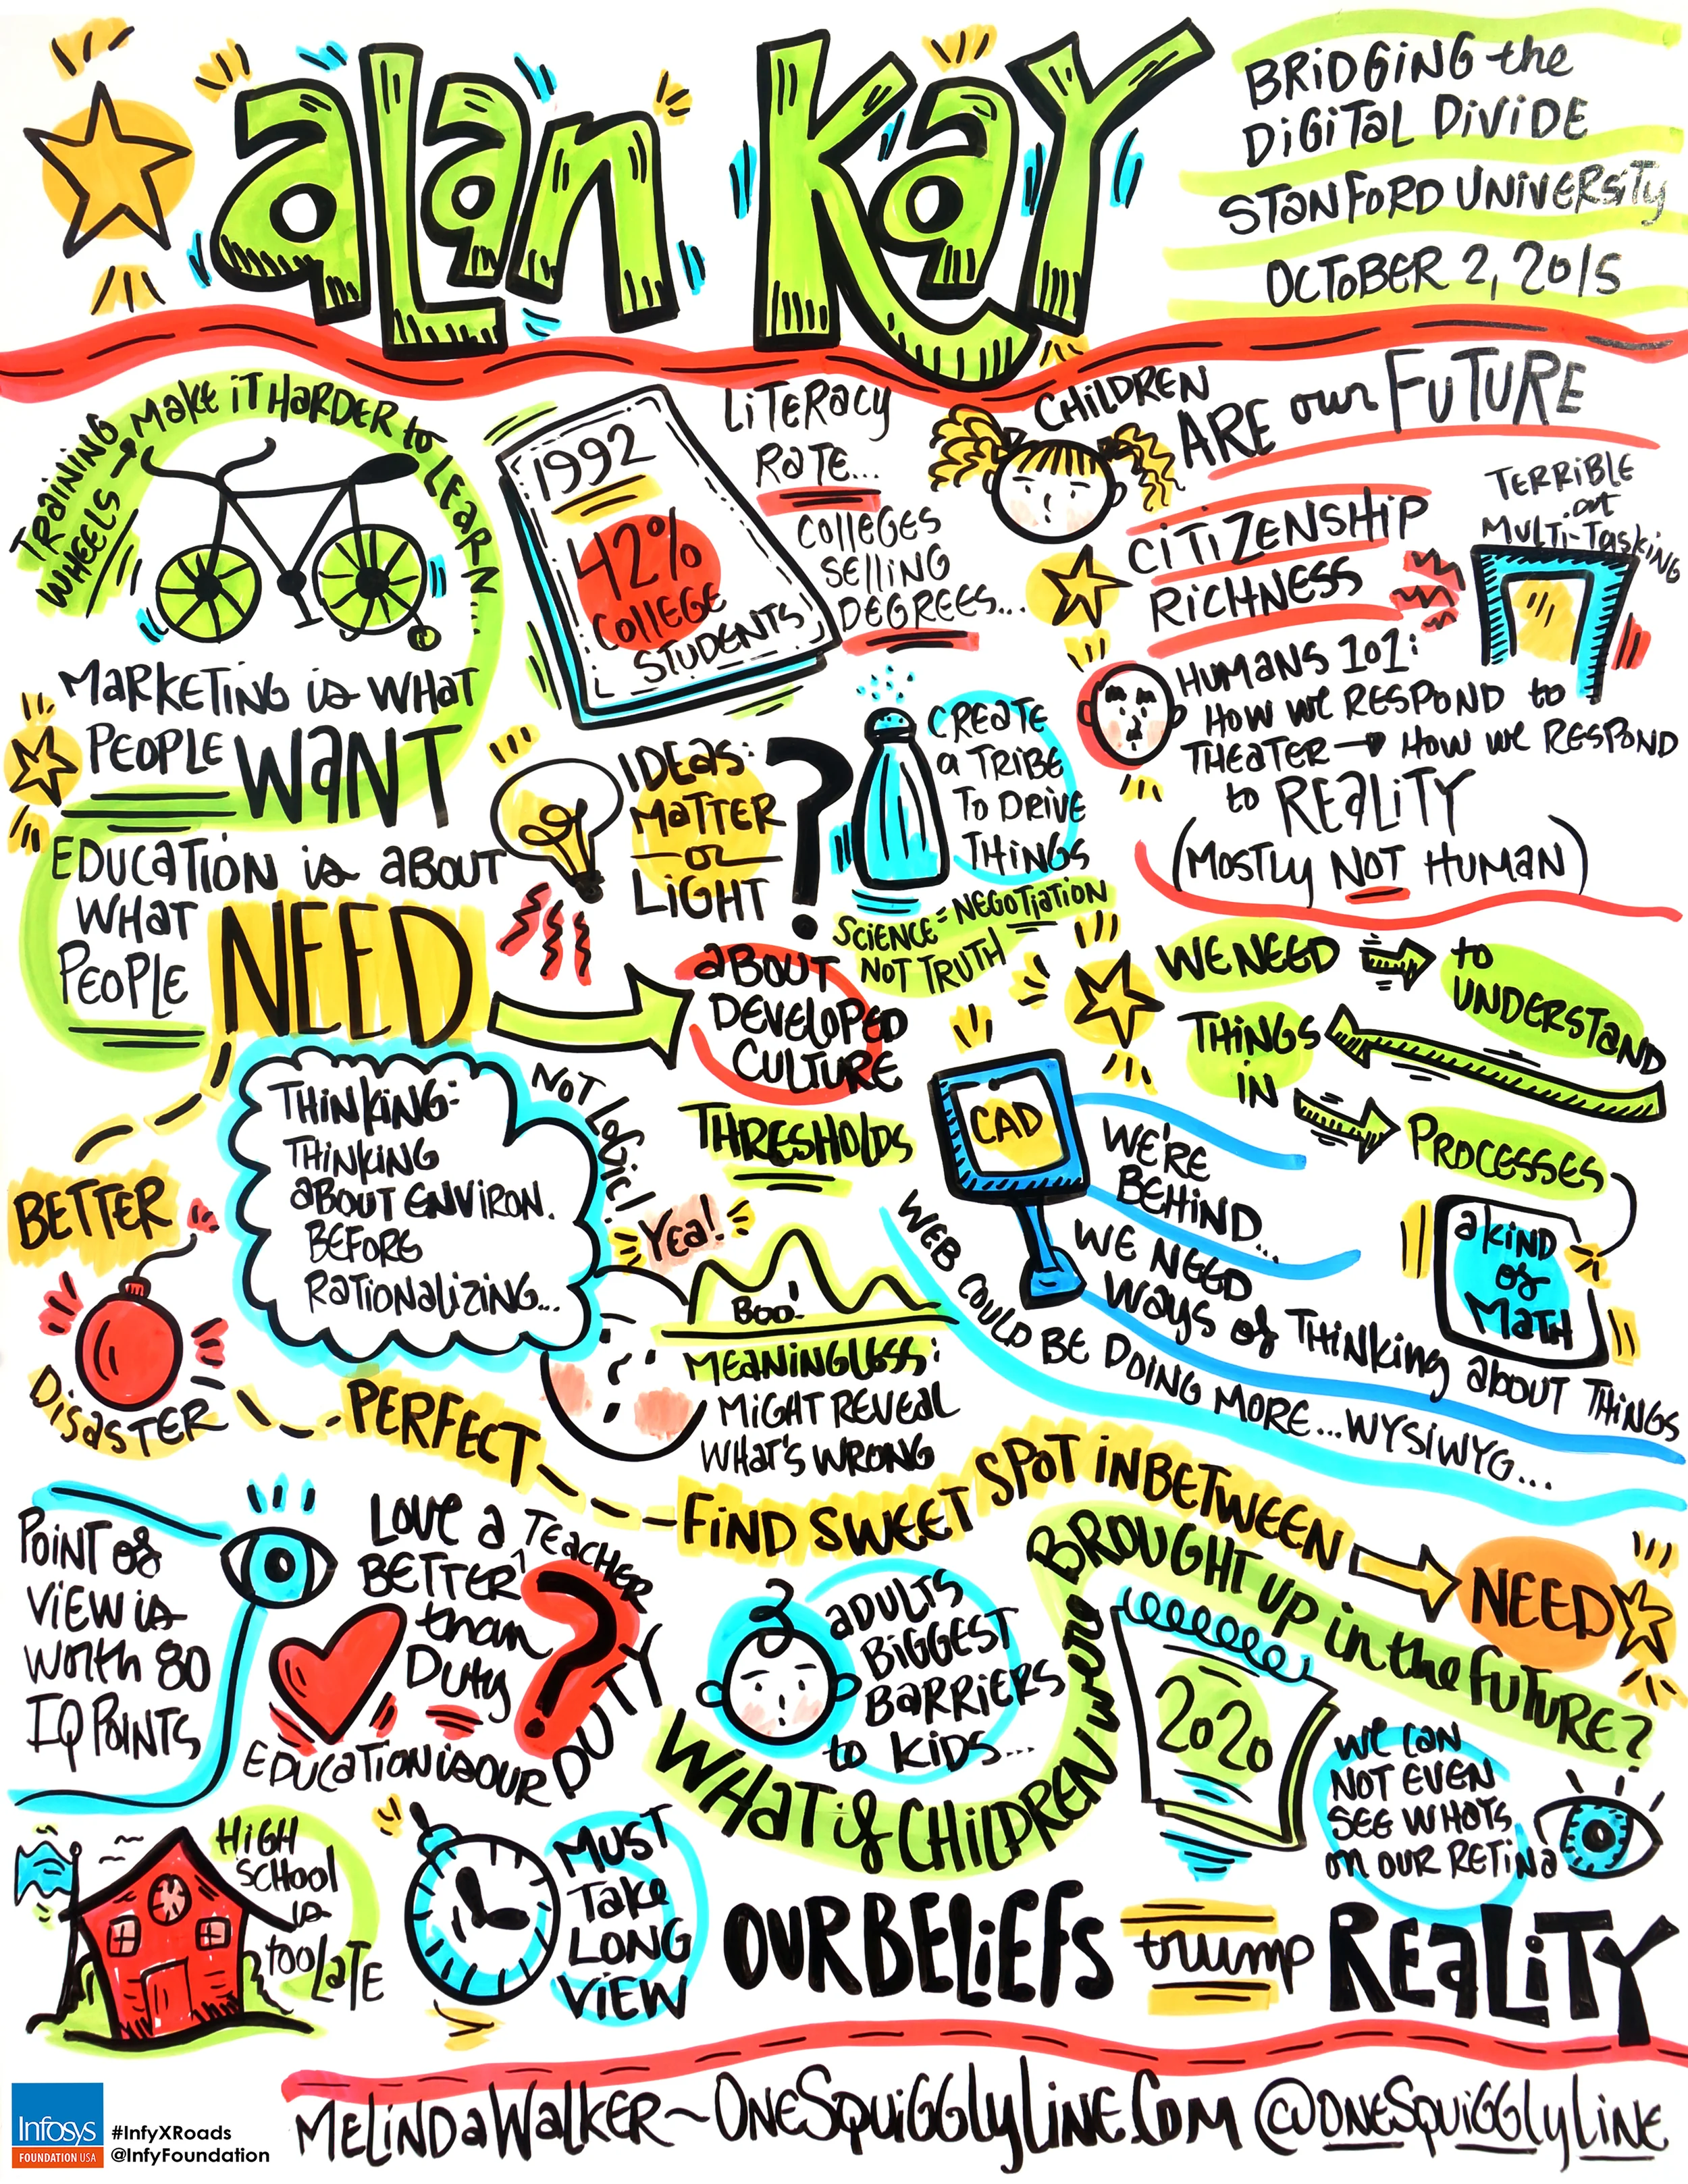
When working live, you never know what's going to happen. I usually only have the same information the people in the audience have, which is a basic agenda. So I know the speaker's name, title of their talk, and how long they are scheduled to speak. That's it!
It's not uncommon for talks to go longer as planned, like the one above. That's usually a good sign, as it means the audience is really engaged. But it can be a challenge to capture all that extra content on the same page.
Color is a great way to keep things organized when there's not much space available. Grouping concepts and thoughts according to color allows you to have completely different ideas right next to each other without things getting confusing.
See more visual notes created live at One Squiggly Line's graphic recording page.
Visual Thinking & Creativity: Idea Boxes
There's a myth out there that highly creative people just sit around and wait for inspiration to strike. Like a great big lightening bolt from the sky. Or a soft whisper from a mystical muse.
Truth is, creativity is not quite so passive. It is an active process. And there's a science to it, not just an art. There are even formulas, methods, and procedures for generating ideas and, equally importantly, evaluating them.
One classic way to create something new is to combine things. And a great way to do that is with an idea box. It's really easy to do - the image above shows one I used with kindergarten through jr. highers.
First, write out the parts of your project, problem or whatever you're thinking about. Next, make a list of thing that fall into each of those categories (random is good here!). Then, chose something from each list and put them all together. If you don't like what you end up with, reach back into your idea box until you find something you do like!
Visual Thinking: Grab-n-Go Graphic Recording Supplies
A big part of visual thinking involves organizing information. Laying it all out so you can see the big picture. Then, you know exactly what you have to work with. If anything is missing, that becomes obvious, too. And when you need to find something fast, you know just where to look. The same is true with supplies.
Choose your markers
I have tons of drawing supplies - I've been collecting them pretty much my entire life! But when it comes to my visual thinking work, I know exactly which markers to use. I made my decision a while ago and stick with it every time. With that decision out of the way, I can get to work much faster. Sticking with the same core drawing materials also gives your work a more unified and consistent look - a big branding bonus!
My Markers of Choice
For most client work, I use Nueland Big One markers. I only use the permanent black ink so it doesn't smear when I color over it. I also use their round-tip Outliner and FineOne markers in black and only in black. When I need an even bolder line, I put the Nueland ink in a thicker paint marker - I love a big, bold line, especially for lettering!
Simplify Your Color Palette
I've also streamlined my color options quite a bit. I settled on about seven core colors that photograph well. I often carry two of each with me so I don't have to refill so often. No need to bring the refill ink for shorter jobs - so much easier! I usually throw in a few extra colors each time, like for the client's logo. Since I know I won't use those colors much, there's no need to bring the ink for those colors.
Storage and Organization
To store and carry my markers, I love these little mesh cubes from the container store. They're the perfect size for both markers and ink. For local jobs, I have one cube with markers and one with ink. If traveling by plane, I put the markers in a ziplock bag in my carry-on and the ink goes in my liquids bag. The mesh cubes fold up in my suitcase. Whether traveling or not, I always group the black markers together so they're easier to find.
Grab and Go!
The mesh cubes fit perfectly in this clear plastic bag, with room on top for a towel, tape, camera, water bottle, and iPad, if needed. And I love the added bonus of toting my logo around! Since the bag is plastic, if any ink spills, I just wash out the bag. Far worse would be if ink ended up on the client's carpet! So I always bring a towel with me to put all my supplies on.
So that's my grab-n-go bag for graphic recording and visual thinking work! Hopefully, you discovered a few things that will work for you. If so, please share in the comments below. If not, please share what works best for you.


