Here's a quick video that shows how to draw a fancy letter F. Give it a try!
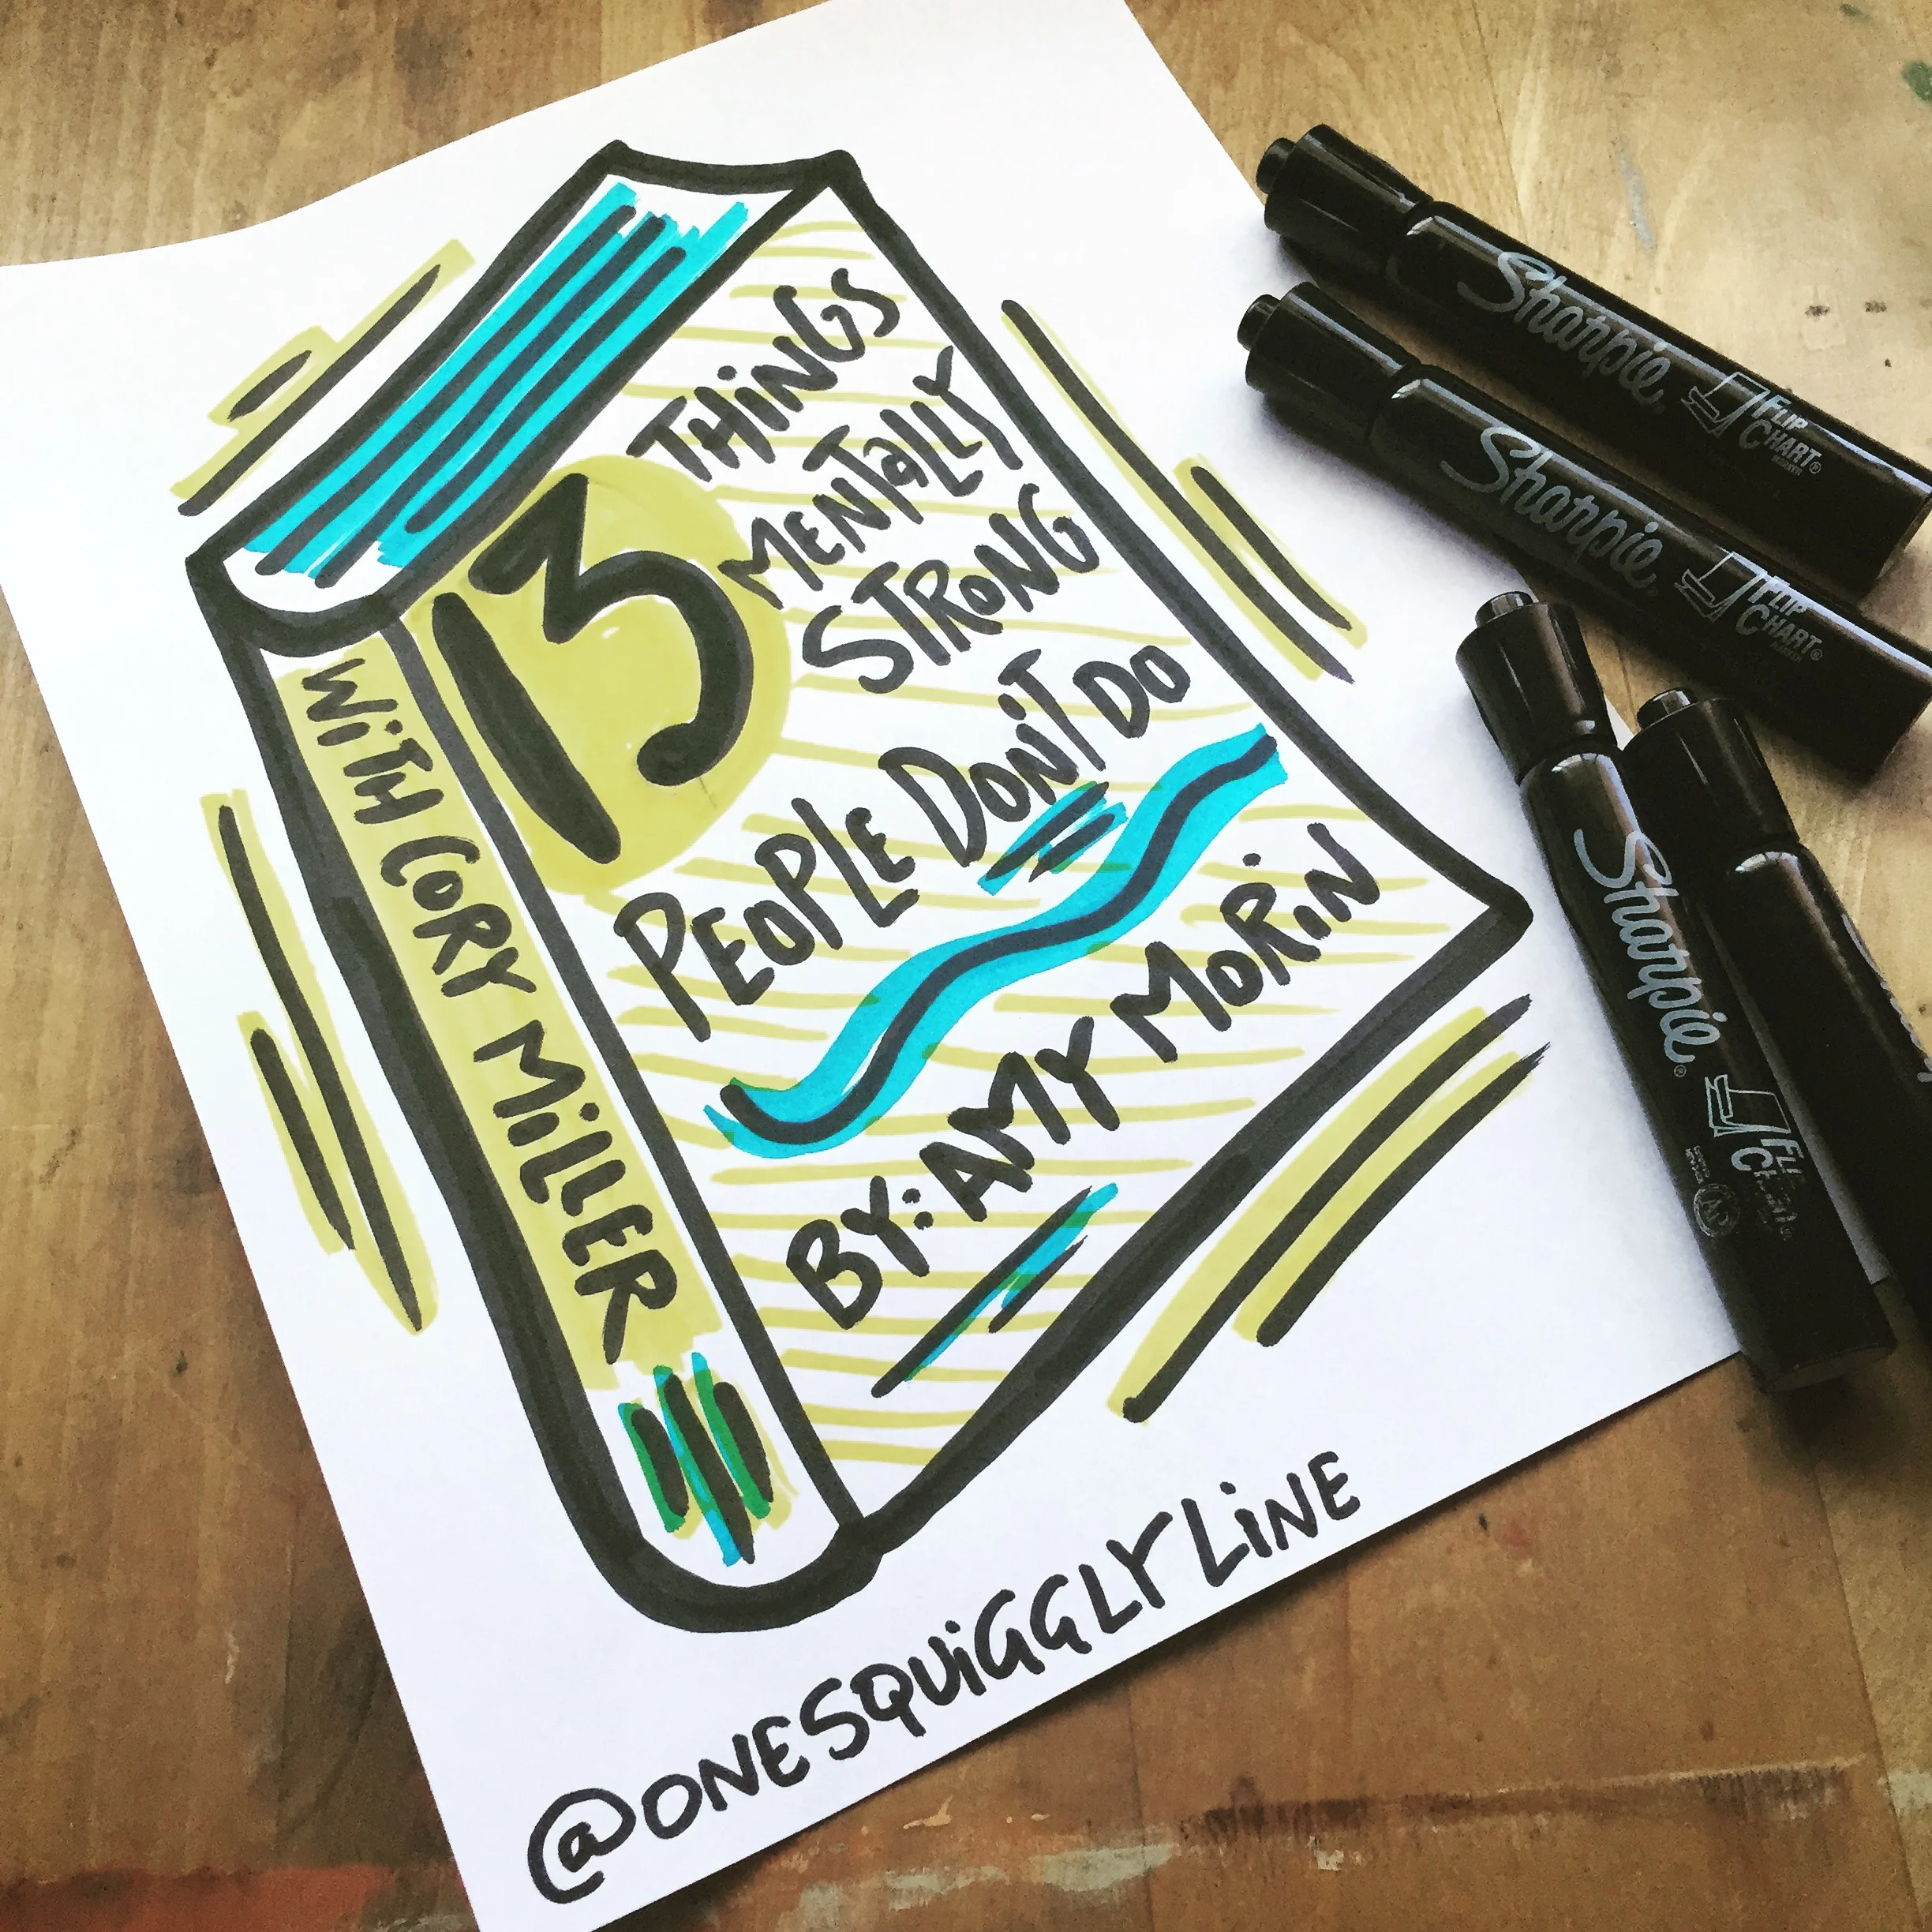
Visual Thinking: Visual Lists
There are tons of articles floating around out there about how to increase your social media following. After reading a number of those articles, they all start to blend together. The same information presented again and again, with most of it being just basic common sense. Even if the content has been seen time and time again, visuals can make things seems fresh and new. When you make things visual, they stand out and draw people in. Read the whole article here.
Visual Thinking: Be More Visual Video Series
Here's a simple and quick visual thinking exercise that can be used as a warm up for creative work, too. Be sure to subscribe to my YouTube channel (One Squiggly Line) for other other videos related to visual thinking and creativity!
Visual Thinking: Webinars, Social Media & Real-Time Drawings
A lot of information and ideas that used to be shared in person are now being shared online. Surprising to some, hand-drawn visuals can still be created in real-time, even when the entire interaction is taking place through a screen. Hand-drawn visuals are especially powerful in these situations because they give a very personal touch.
Webinars are a great example. Most webinars have an accompanying slide deck, chat room, and Twitter hashtag to follow. While the slides may have some visuals, the are generally seen in a completely different context than the chat room or Twitter stream. And with a lot of people interacting through chat and social media, it's really easy for comments and insights to get lost.
When hand-drawn visuals are posted in real-time during your webinar, they immediately grab people's attention. They keep the conversation alive, even after the webinar ends, thanks to your webinar hashtag. And hand-drawn visuals allow others to interact with core nuggets of your content, even if they missed your webinar. That can make them want to learn more and lead them to join you at your next event.
Be sure to watch this 15 second video to see what I mean. It shows 12 visuals that were drawn and posted to social media in real-time during the main 45 minutes of a webinar. The last 15 minute were devoted to Q and A, which I did not cover, but certainly could have, if needed.
To take a closer look at the visuals and see them all at once, check out this Flickr Album.
Please keep in mind, these were all drawn and posted in real-time. That means there was only about 4 minutes to draw, photograph, and post each picture!
Visual Thinking: Grab-n-Go Graphic Recording Supplies
A big part of visual thinking involves organizing information. Laying it all out so you can see the big picture. Then, you know exactly what you have to work with. If anything is missing, that becomes obvious, too. And when you need to find something fast, you know just where to look. The same is true with supplies.

Choose your markers
I have tons of drawing supplies - I've been collecting them pretty much my entire life! But when it comes to my visual thinking work, I know exactly which markers to use. I made my decision a while ago and stick with it every time. With that decision out of the way, I can get to work much faster. Sticking with the same core drawing materials also gives your work a more unified and consistent look - a big branding bonus!

My Markers of Choice
For most client work, I use Nueland Big One markers. I only use the permanent black ink so it doesn't smear when I color over it. I also use their round-tip Outliner and FineOne markers in black and only in black. When I need an even bolder line, I put the Nueland ink in a thicker paint marker - I love a big, bold line, especially for lettering!

Simplify Your Color Palette
I've also streamlined my color options quite a bit. I settled on about seven core colors that photograph well. I often carry two of each with me so I don't have to refill so often. No need to bring the refill ink for shorter jobs - so much easier! I usually throw in a few extra colors each time, like for the client's logo. Since I know I won't use those colors much, there's no need to bring the ink for those colors.

Storage and Organization
To store and carry my markers, I love these little mesh cubes from the container store. They're the perfect size for both markers and ink. For local jobs, I have one cube with markers and one with ink. If traveling by plane, I put the markers in a ziplock bag in my carry-on and the ink goes in my liquids bag. The mesh cubes fold up in my suitcase. Whether traveling or not, I always group the black markers together so they're easier to find.

Grab and Go!
The mesh cubes fit perfectly in this clear plastic bag, with room on top for a towel, tape, camera, water bottle, and iPad, if needed. And I love the added bonus of toting my logo around! Since the bag is plastic, if any ink spills, I just wash out the bag. Far worse would be if ink ended up on the client's carpet! So I always bring a towel with me to put all my supplies on.
So that's my grab-n-go bag for graphic recording and visual thinking work! Hopefully, you discovered a few things that will work for you. If so, please share in the comments below. If not, please share what works best for you.